Pretty, Perfect Wedding Nails – The Guide to Achieving the Perfect Pastel Ombre Look
The perfect finishing touches to any wedding ensemble are the details that make you look and feel special. When it comes to your hands, don’t underestimate the power of having dreamy, manicured nails that express who you are and complement your overall style. If you’ve been searching for a unique way to combine all the colors featured in your day-of-look, why not go for a pastel ombre nail design? To help guide you through this beautiful world of tips and tricks for achieving picture-perfect pastel ombre nails on your big day (or to add a touch of spring time cheer into every other), here’s everything you need to know about how-to create an effortless yet chic look with one simple technique!
Ways to create stunning pastel ombre wedding nails
 Choose your colors: Select a pastel color palette for your wedding nails. You can go with one or two shades that match the theme of your wedding or create contrast by choosing contrasting hues. Try to select seasonal colors, such as light blues and pinks in spring, blush-pink and lavender in summer, oranges and yellows in autumn, and cool blues and whites in winter.
- Prep your nails: Start by trimming and filing your nails into the desired shape before applying any polish. You may also want to use cuticle oil or nourishing nail treatment to ensure healthy-looking nails on your special day.
- Pick your base color: Choose a base coat color that complements your chosen palette. This will be the color at the base of all your nails and will act as a foundation for your ombre.
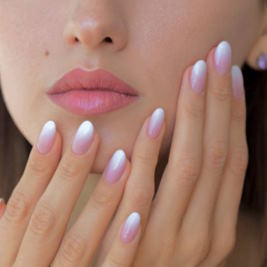
- Create the ombre effect: To start creating the ombre look, paint each nail with two coats of polish in the same shade, working from cuticle to tip. When dry, use a makeup sponge to lightly blend a slightly lighter shade on top for an ombré effect. Ensure you use a light hand when blending, as adding too much pressure can cause bubbles or smudges.
- Apply Topcoat: Once you have achieved the desired ombré look on each nail, finish off by applying a topcoat to seal in the design. This will also help protect your nails and prevent any smudging or chipping.
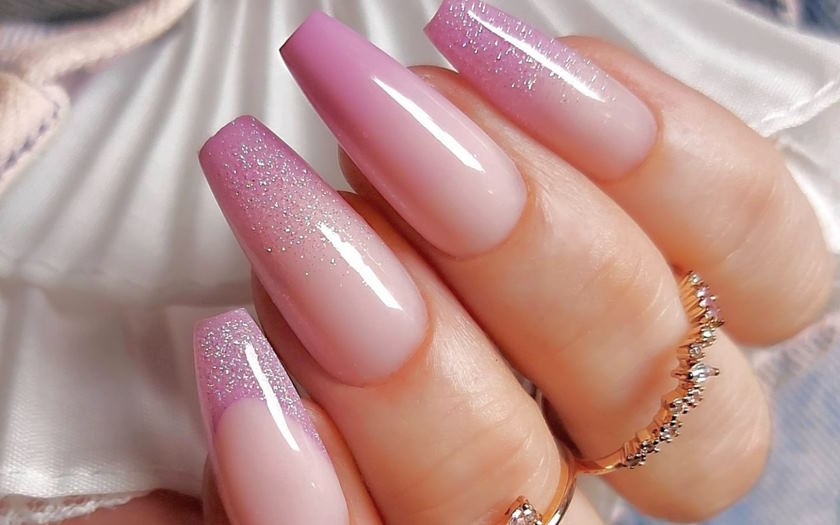
- Add sparkle: For an extra special touch, you can add a bit of glitter or gemstones along one side of each nail to complete the look. This will give your ombre wedding nails some eye-catching sparkle that will turn heads on your special day!
With these simple steps, you’ll be able to create gorgeous pastel ombre wedding nails that are perfect for your big day! So enjoy having stunning manicured nails on your special day!
Get ready for your wedding day with these trendy pastel ombre nail designs
Pastel ombre nails are the perfect way to add a touch of color and elegance to your wedding look. Whether you’re going for a subtle, neutral design or want something bolder and brighter, there are plenty of ways to make these designs your own. From metallic sparkles to matte finishes and geometric shapes, you can create a look that is all your own. So finish off your bridal ensemble with these gorgeous pastel ombre nail designs and feel like royalty on your special day!
Finally, don’t forget to take care of those beautiful nails after the wedding! Keep them healthy by regularly applying nourishing cuticle cream and using moisturizing hand lotion throughout the day. Use a good quality base coat to protect the nail from chipping, and finish off with a clear top coat for added shine. With these tips, your pastel ombre nails will stay beautiful and vibrant for many happy years to come!
We hope you’ve enjoyed our collection of pastel ombre nail designs. Whether you pick something simple or want to go all out with a bold look, you’ll be sure to turn heads on your big day. Congratulations on your upcoming wedding and we wish you all the best in your new life together!